How it looks
What your customers actually see.
Three steps to set up. One card that lives in their phone forever.
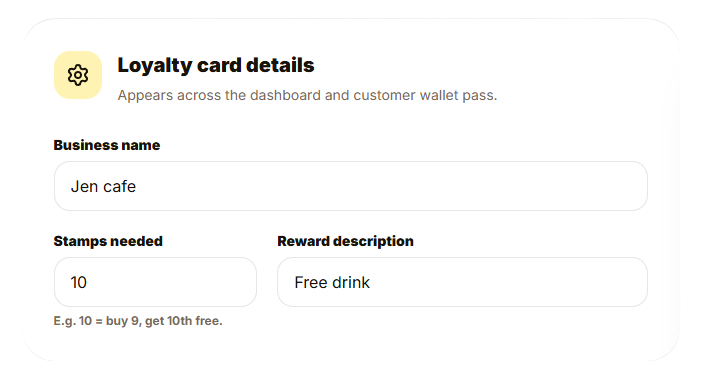
Set your loyalty program details
Give your card a name, choose how many stamps earn a reward, and write what the reward is.
- ✓Business name: shown on the pass header
- ✓Stamps needed: e.g. 10 stamps = buy 9, get 10th free
- ✓Reward description: e.g. "Free drink", "20% off", "Free pastry"
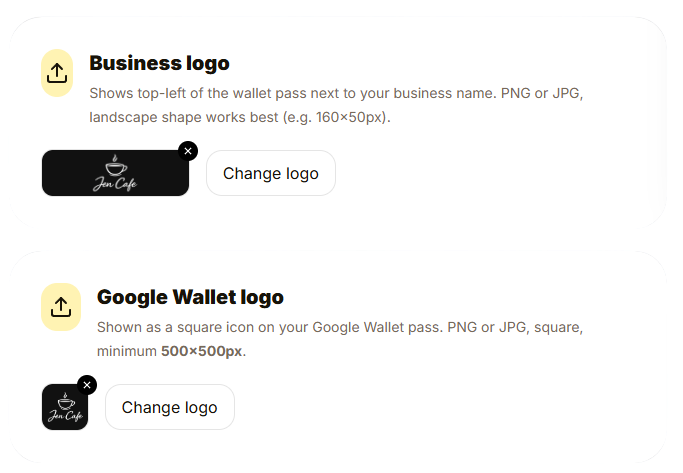
Upload your logos
Add your logo so the card feels like yours, not ours. Two versions. One for Apple Wallet, one for Google Wallet.
- ✓iOS logo: landscape shape, shown top-left next to your business name (e.g. 160×50px)
- ✓Google Wallet logo: square icon, shown in the card header (min 500×500px)
- ✓PNG or JPG accepted for both
Pick your colours
Choose an accent colour for the stamp strip and a background colour for the card. The card becomes yours.
- ✓8 accent colours to choose from (more coming soon)
- ✓10 card background colours (more coming soon)

The result
This is what lands in their wallet.
Example business: Jen Cafe. 10 stamps for a free drink. Black accent, black card background. Yours will reflect your own branding and colours. QR codes are blurred for privacy.
🍎 Apple Wallet
iPhone
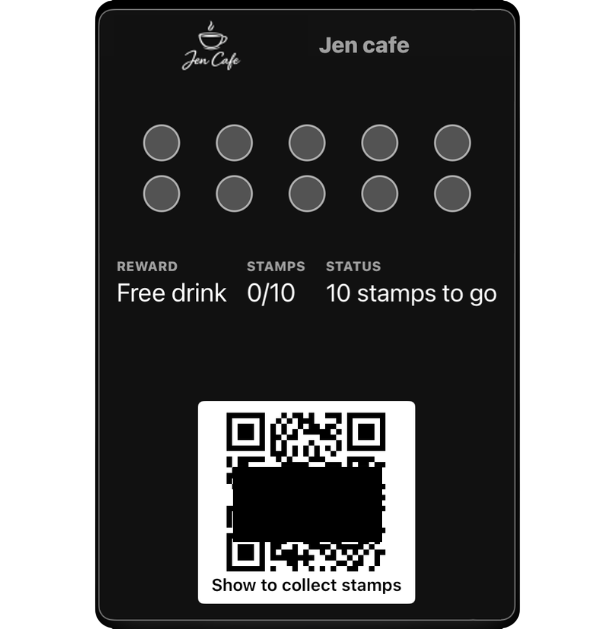
What you can customise:
- ✓ Business name and logo
- ✓ Stamp goal and reward
- ✓ Accent colour (stamp strip)
- ✓ Card background colour
🤖 Google Wallet
Android
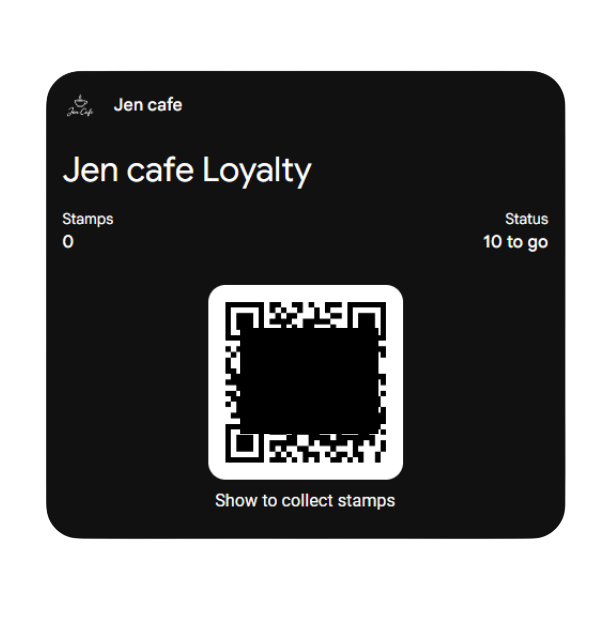
What you can customise:
- ✓ Business name and logo
- ✓ Stamp count and reward
- ✓ Card background colour
iOS and Android passes look different from each other. That is normal. StampDuck lets you customise as much as each platform allows. Both are fully branded to your business.